Powered by Blogger.

Ink & Share Scrapbook Blog Hop - March...


Good afternoon and welcome to my blog.  You may have joined me from Cheryl or starting your journey here.

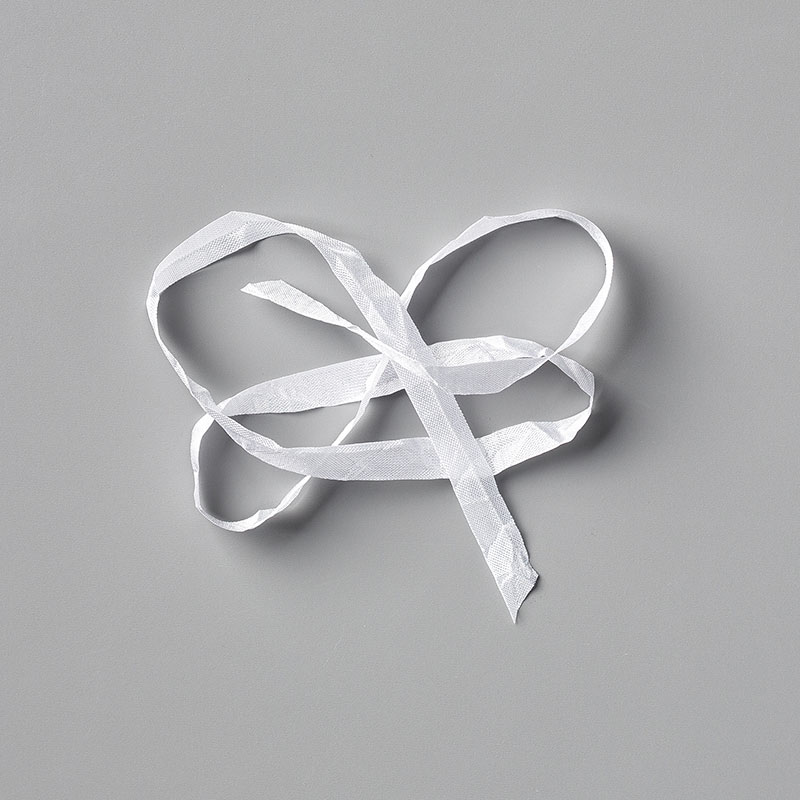
The blog theme this month is to use ribbon on our layout.  I must confess I don't often use ribbon, I tend to use twine or other elements so I really enjoyed this challenge.

I am slowly working through photos from way back in 2012 when my husband and I took a holiday of a lifetime in Canada.  It truly is such a beautiful country and we visited so many amazing places.  In this layout I have some photos which were taken at a beautiful hotel in Banff in the Rockies.  The hotel is nicknamed the 'Castle of the Rockies' as it has an imposing position over the town and looks like a castle.  It really felt like it inside in places too!

Here are my layouts....


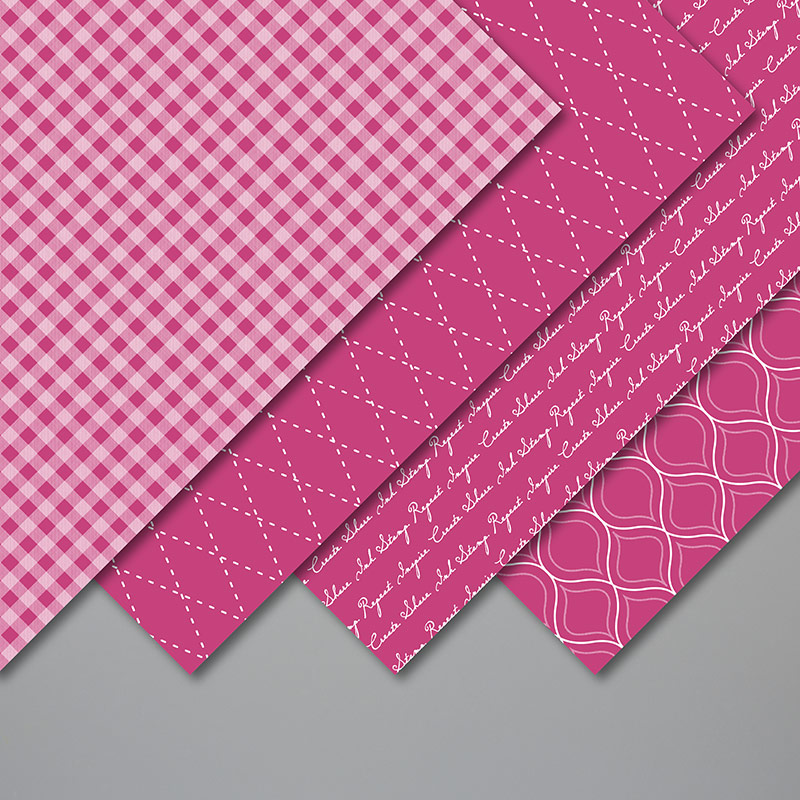
I started with a good splattering of shimmer paint on to black card.  Once dry I mounted my photos on to Terracotta Tile cardstock and stuck them in place.  Sneak peak alert!!!  The DSP at the bottom of the pages is from an exciting new suite coming in the Annual Catalogue in June!

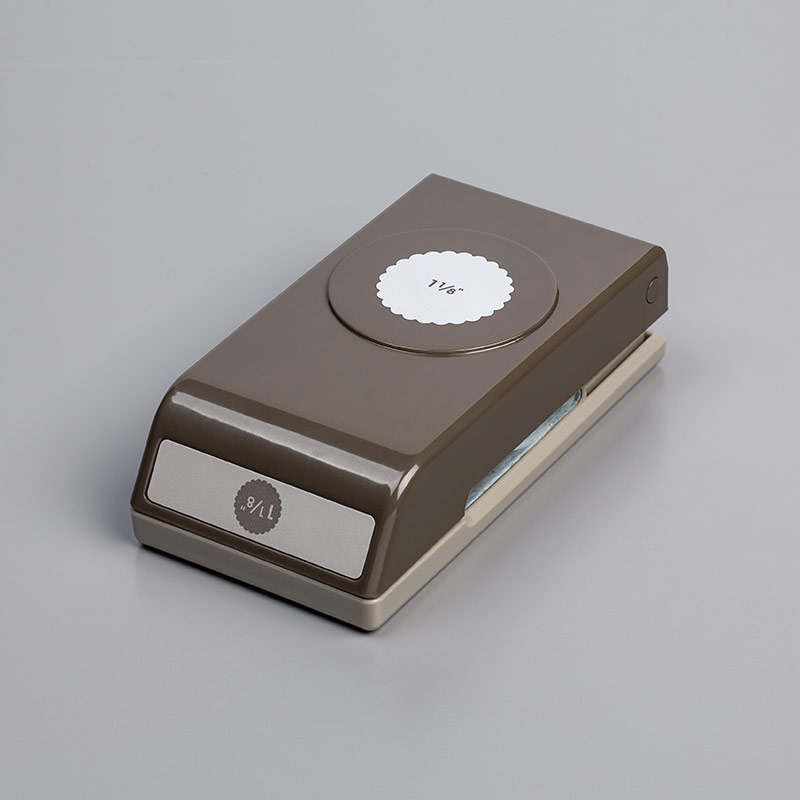
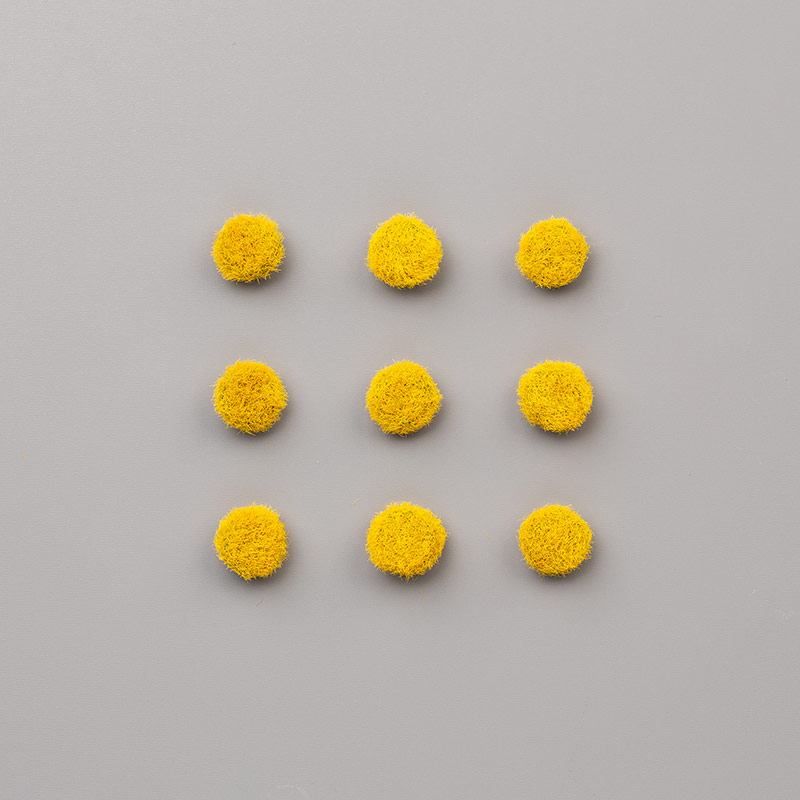
I then punched three circles of varying sizes and using them as a guide, pierced holes around the circle edge on to my layout.  I then ribbon embroidered the daisies before adding the floral centres.

Below is a guide of how to make the daisies.  I really must learn how to do videos!!

Punch a circle(s) of any size and roughly mark petal points with a pencil - they do not need to be completely accurate.


Place the circle where you want your daisy to be and prick holes at each petal point and in the centre of the circle.


Thread a needle with some of the ribbon and come up from the back through the centre hole and secure on the back with some double sided tape (avoid knotting).


Ensure that the ribbon lays flat on the front of your work, before passing your needle through the centre of your ribbon and in to one of the petal holes.


Pull through to the reverse and come back up through the middle point.  Repeat to complete your daisy.


Once complete take the ribbon to the back of your work and finish off, try and avoid knotting, securing in place with some tape.


That's it, it really is that simple.  Add a flower centre to finish.


I hope you have enjoyed my pages and I am now going to pass you on to Rochelle who I am sure has something amazing to share with you today.  You can also hop along by using the next buttons or the roll call list.

Jo
x


https://stampingflair.com/ink-share-scrapbook-blog-hop-ribbon/

Roll Call
Jo Blackman - you are here

Ink.Stamp.Share March Blog Hop - Let's Hear It for the Boys...


Good afternoon and welcome to the Ink.Stamp.Share March Blog.  You may have joined me from Rebecca or starting your journey here.

We find ourselves in such awful times across the World so I hope we can bring you all a little respite from all the worries, fear and sadness that is happening around us.

Today we are sharing our projects with the theme 'Let's Hear It for the Boys'.  I think we all struggle a little with ideas for the men in our lives so here is some inspiration.

I am using the Outdoor Barbecue stamp set from the Mini Catalogue.  I loved this little set as soon as I saw it.  It was one of those sets that I kept looking at and eventually decided I needed it in my collection!

Here is my card...


I opted for a slightly different fancy fold card.  I scored and folded the front of my card at around 6cm from the outside edge (rather than the usual middle fold) so that you get to see a little of the left and a little bit of the right side!

I stamped the left side using the burger, chop and ketchup bottle (I especially love the ketchup bottle) in Gray Granite on to a Gray Granite base card.  For the inside I stamped my greeting and added another little ketchup in the corner.  I stamped the bbq on to a piece of watercolour paper and coloured using the watercolour pencils and a blender pen.  

I also made a simplified version of this card for a recent class, attendees loved it.


I hope I have inspired you today or bought a smile to your face and I am going to pass you on to Rochelle who I am sure has something amazing to share with you.

Happy Stampin' and Keep Safe

Jo
x

https://stampingflair.com/ink-stamp-share-blog-hop-lets-hear-it-for-the-boys/


Shopping List Notebook Cover...

Good morning all, thank you for dropping by today.  I hope everybody is keeping safe and well in these unprecedented times we find ourselves in.  I still cannot believe what is happening, it is so very sad but it is also fantastic to see the way everybody is pulling together in these troubled times.

I am isolating at home as ordered by our Government, only venturing out to walk the dogs and essential supplies if and when required.

A couple of weeks ago one of my lovely ladies presented me with her folder of all the instructions I have created over many years at classes she has attended.

As I have some downtime and no classes to prep for, I have decided to recreate some of these projects (with some little tweaks!) and share them with you all to get you inspired to create some projects of your own.  I will share as many as I can with you over the coming weeks/months, however long it takes to get back to some kind of normality.

I am starting today with a little Shopping List Notebook Cover.  I think this must have been one of the very earliest projects I made with my ladies as it used the stamp set which formed part of my Starter Kit (we didn't get too much choice back in those days).  I had to smile as I called it 'Shoppers Delight' when in fact it would be a delight to have the luxury of writing a shopping list when we are struggling to get the basics in some parts of the Country given the current situation!  There were no photographs, other than the finished project, and goodness me did I gabble lol!


The shopping list pads can be bought in many high street shops (when they reopen) or on the internet and tend to be of a fairly standard size.  You can still make the covers and insert the notepads as and when they are available.  They also make great little projects for craft fairs or gifts.

You will be pleased to hear I have rewritten the instructions for this project, with photographs, and they can be found in the Tutorial Section of my blog here.

Keep safe everybody and I will see you soon with some more projects.

Jo
x