Hello crafters, following my recent post for the Kre8tors Blog Hop, I have received numerous requests for instructions on how I made the little box. You can see the original post here.
These instructions are a slight variation on the box however, it is made in exactly the same way until you make the lid.
I hope the instructions are clear but should you have any questions then please let me know.
Circle Topped Box
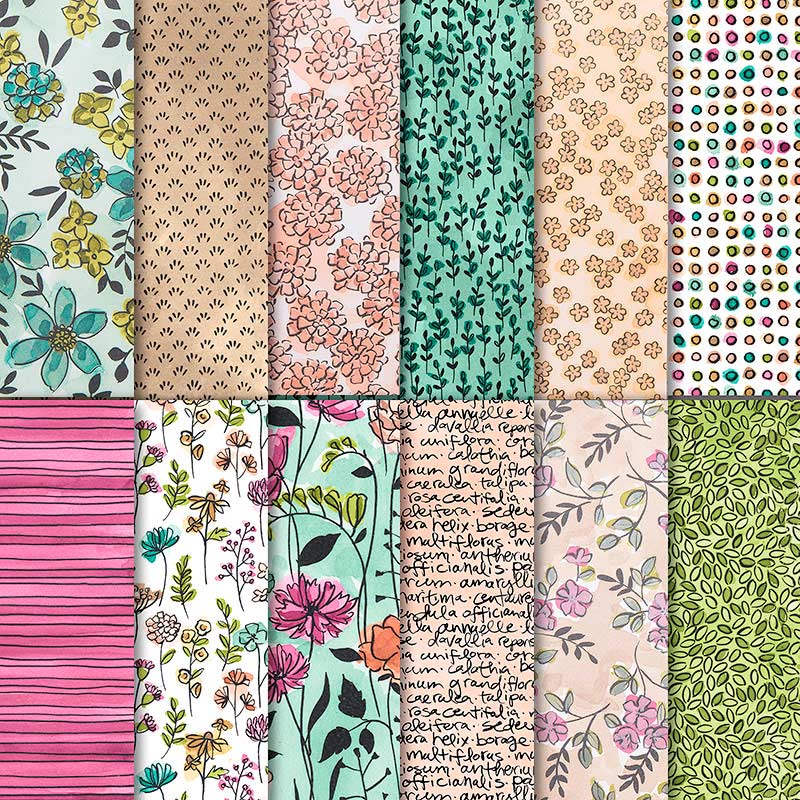
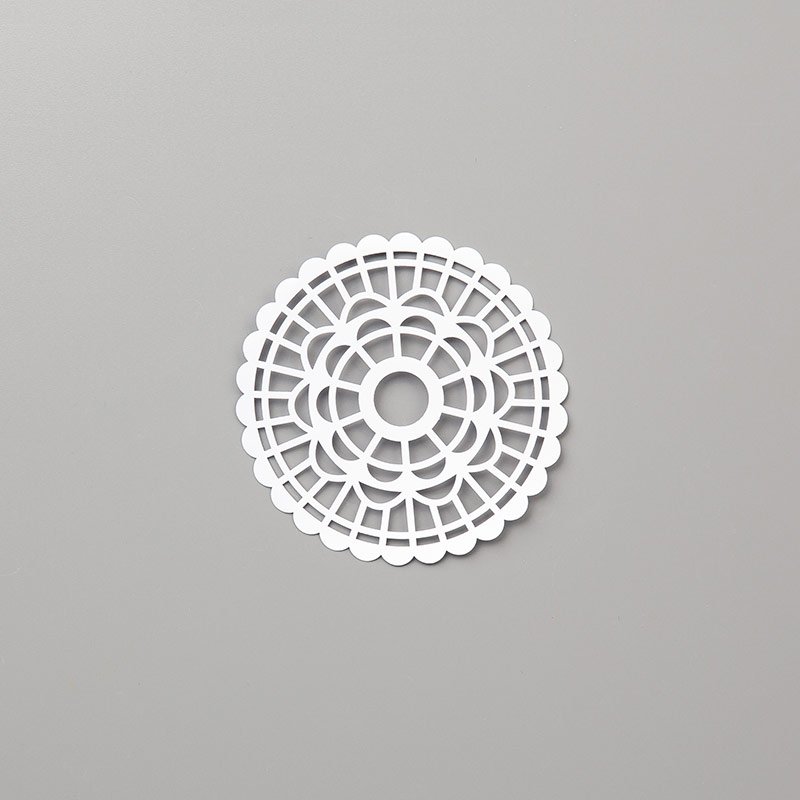
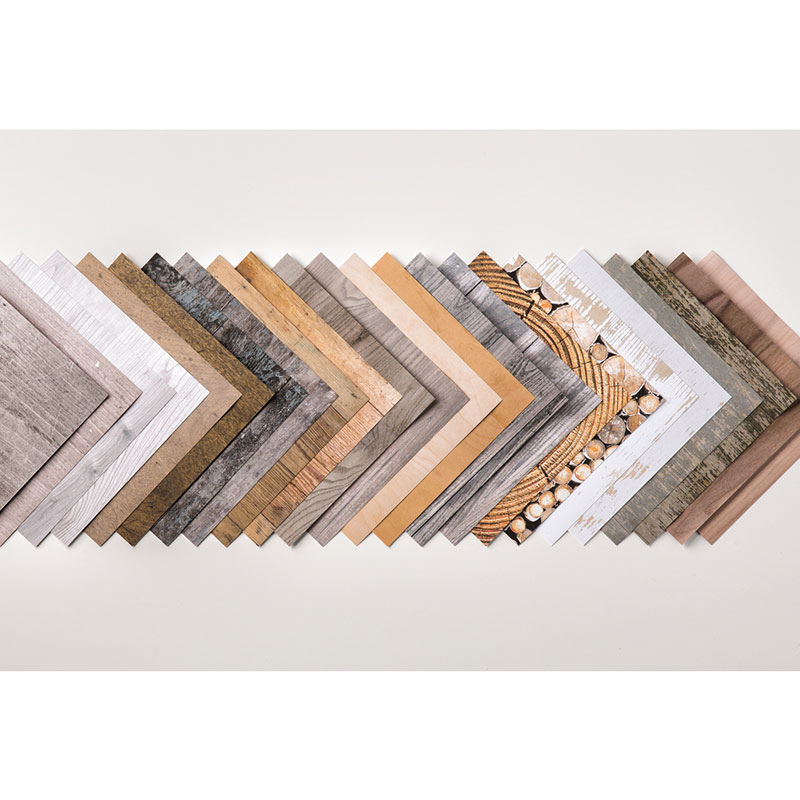
Cut four large circles from either DSP
or cardstock of your choice, or a combination of both. I still have the old style circle framelits
and used the large plain circle for my box however, you could draw around a
bowl, cup etc. The large framelit
measures approx. 10.3cm across. If you
use a smaller or larger circle you will need to adjust the size of the bottom
box accordingly (see below *).
Fold each circle in half, scoring well,
unfold and score in half again to split the circle in to four segments. Cut along one of the score lines to the
centre point of the circle.
Glue the two segments, either side of
the cut line of each circle to create the four corners for your box lid. Set aside.
Cut
a piece of cardstock or DSP for the base of your box to measure 21cm x
21cm. Score at 7cm and 14cm on two
adjacent side and cut as shown.
 Score
on all score lines and glue the box together using the small flaps to attach
the sides. To reinforce your box, if you
wish, cut four squares to measure 6.8cm and glue inside. This would look really nice if DSP was used
to line the box.
Score
on all score lines and glue the box together using the small flaps to attach
the sides. To reinforce your box, if you
wish, cut four squares to measure 6.8cm and glue inside. This would look really nice if DSP was used
to line the box.
Turn your box upside
down (this gives a firmer base to work with) and arrange the four lid sections
either by overlapping each in turn or as I have done with this box, the two
plain corners at the bottom and the two patterned on top. Glue in place.
If overlapping the lid pieces, it would look like this:-
Decorate your box as you wish.
___________________________________
* If you are using a circle bigger or
larger than the one described at 1 above, before making up your box, arrange
the four top pieces as you would in 6 above and measure one side to establish
the size of the box you will need to make.
Alternatively, you can download the pdf here.
I hope you have fun making this lovely little box and I would love to see your creations. If you have any questions or queries then please do not hesitate to contact me.
Happy Craftin'
Jo
x